Blob Tracking
For my first post in BediByte, I would like to write about one of the two computer vision algorithms my team and I wrote for our senior design project in December 2017, which is a blob-tracking algorithm. The code is written in Python using OpenCV (with numpy and imutils installed).
Features
Our blob-tracking algorithm identifies and encircles the biggest green blob seen within a video frame in real-time. This information is then used to track the blob via a line from the center of the video frame.
Procedure
The key steps in designing the blob-tracking code are:
- Step 1: Initialize the HSV color range for green blob and the list of tracked points
- Step 2: Take raw input image from one video frame to the next
- Step 3: Create binary mask of the image to identify green blobs present
- Step 4: Draw a circle enclosing the biggest blob in the mask
- Step 5: Draw a line tracking the blob from the center of the frame
Step 1
Without further ado, lets jump right ahead into the first step, which involves initializing our “green” color and the list of tracked points. This part of the code looks like the following:
greenLower = (30, 80, 5)
greenUpper = (64, 255, 255)
pts = deque(maxlen=args["buffer"])
Lines 1 and 2 shown above define the lower and upper boundaries of the “green” color in the HSV color space. This will help detect green objects in the video frame that are inside the specified range and filter out colors that are not. Depending on your lighting, this color range might need to be tweaked to better adjust to your surroundings. Line 3 initializes the list of tracked points using the supplied maximum buffer size, which in default has a size of 64.
Step 2
For this step, we need to constantly take raw input image from one video frame to the next. This can be done by grabbing access to our camera pointer in a while loop. The loop will continue until we send a stop command.
while True:
	(grabbed, frame) = camera.read()
Step 3
Next, still in the while loop, we need to create a binary mask of the image to identify green objects within the video frame.
	frame = imutils.resize(frame, width=600)
	height, width, channels = frame.shape
	hsv = cv2.cvtColor(frame, cv2.COLOR_BGR2HSV)
	centerFrame = (width/2, height/2)
	mask = cv2.inRange(hsv, greenLower, greenUpper)
	mask = cv2.erode(mask, None, iterations=2)
	mask = cv2.dilate(mask, None, iterations=2)
Lines 1 - 4 above are written first to resize (to cut down the processing time), convert the frame to HSV color space and get the center location of the frame.
Lines 5 - 7 create a binary mask to locate any green blobs present (in our previously specified color range) within the frame. The output of the call cv2.inRange is a binary mask where values ‘1’ and ‘0’ are acquainted to the pixels that are green and to those that aren’t, respectively. This helps identify the green blobs effectively. Any remaining small blobs (or noise) on the mask is then removed by performing erosions and dilations. More information about erosions and dilations can be read here.
Step 4
The next step is to draw out a circle enclosing the biggest remaining blob in the mask.
	cnts = cv2.findContours(mask.copy(), cv2.RETR_EXTERNAL,
		cv2.CHAIN_APPROX_SIMPLE)[-2]
	center = None

	if len(cnts) > 0:
		c = max(cnts, key=cv2.contourArea)
		((x, y), radius) = cv2.minEnclosingCircle(c)
		M = cv2.moments(c)
		center = (int(M["m10"] / M["m00"]),
				  int(M["m01"] / M["m00"]))

		if radius > 10:
			cv2.circle(frame, (int(x), int(y)),
                       		int(radius), (0, 255, 255), 2)
			cv2.circle(frame, center, 5,
                       		(0, 0, 255), -1)

	pts.appendleft(center)
Lines 1 and 2 above compute the contours or outlines of the remaining blobs. Note that an array slice of -2 is used to make the cv2.findCountours function compatible with both OpenCV2.3 and OpenCV3. Line 3 initializes the center (x,y) coordinates or centroid of the blob.
Lines 5 - 10 help us identify the biggest blob in the mask by finding the largest contour. This information is then used to compute the minimum enclosing circle and the centroid position of that blob.
Lines 12 - 16 draw the circle and the centroid on the frame, with the condition that the calculated radius of the circle meets a minimum size. Finally, Line 18 appends the centroid to the pts list.
Step 5
The last step is to draw a line tracking the blob (specifically, at its centroid position) from the center of the frame.
	if (pts[0] != None):
		cv2.line(frame, pts[0], centerFrame, (0,255,0), 4)

	cv2.imshow("Frame", frame)
	key = cv2.waitKey(1) & 0xFF
	if key == ord("q"):
		break

camera.release()
cv2.destroyAllWindows()
Lines 1 and 2 draw the connecting line, if the object is within the frame. The remaining lines of the code are simply to display the frame to our screen and stop when the ‘q’ key is pressed.
Results
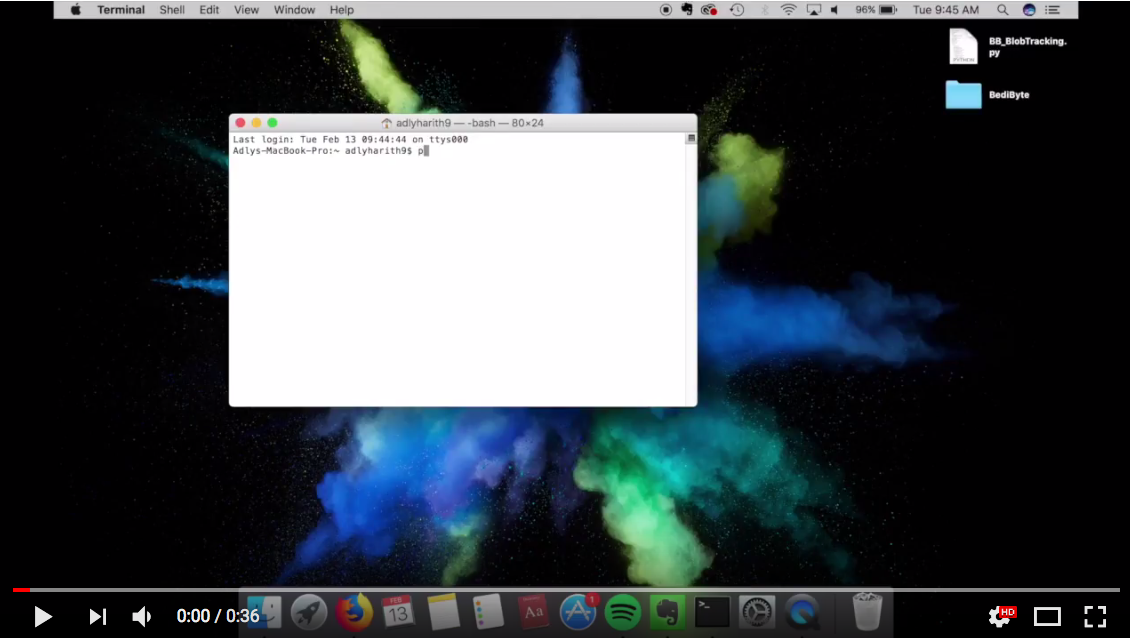
Here is a demo of the working code using the front cover of my HERBS book:
Code
If you would like to get more information about the code, feel free to drop me an email at bedibyte@gmail.com.
References
[1] “Ball Tracking with OpenCV”, pyimagesearch.com, 2015. [Online]. Available here
[2] “Morphological Transformations”, opencv.org, 2014. [Online]. Available here

